



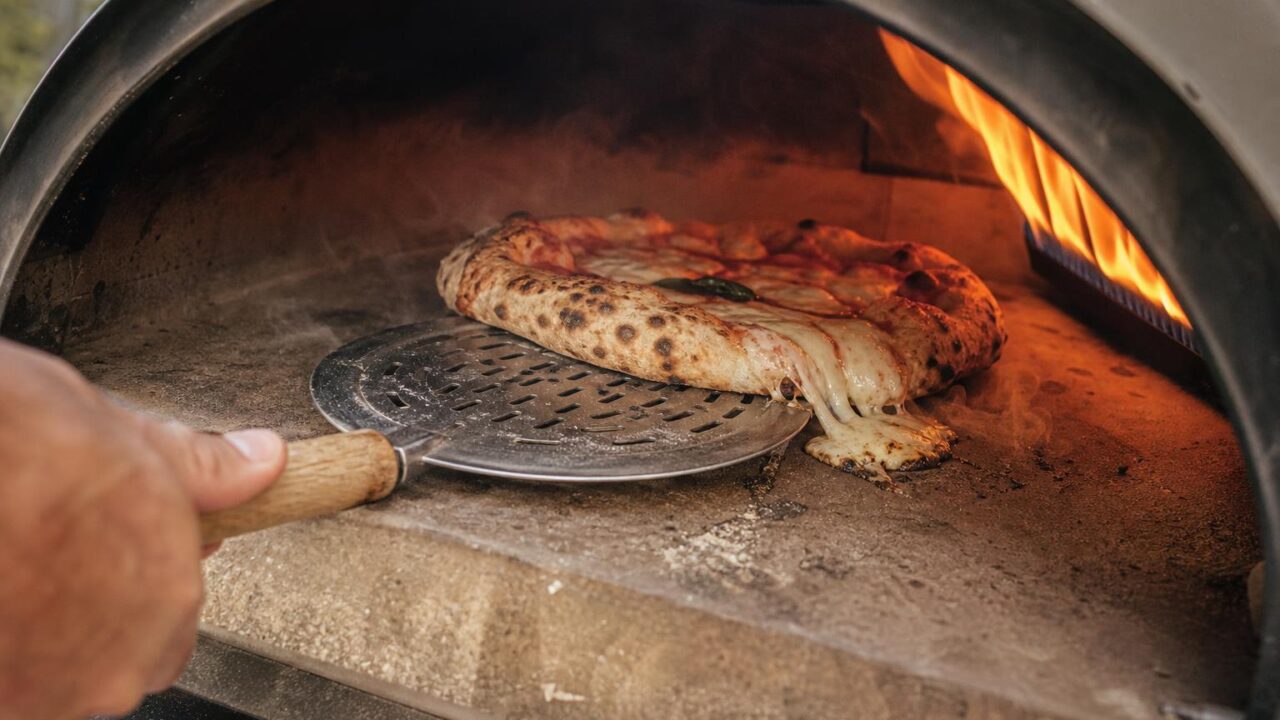
You preheated the oven to 450 degrees, finished topping the pizza, and slid it in. During the first turn, the base tears. The cheese slides off, lands right on the hot stone, and immediately burns into a black crust. This is exactly what happened to someone in a Facebook group for Neapolitan pizza fans recently, in the Gozney Arc XL, on their very first attempt ever.
The comments under the post were a jumble of speculations: sauce too watery, turned too early with the turning peel, stone not hot enough. In reality, it’s usually not a single cause, but a combination of several small mistakes. I’ll show you what they normally are, and what you can do differently on your next attempt.
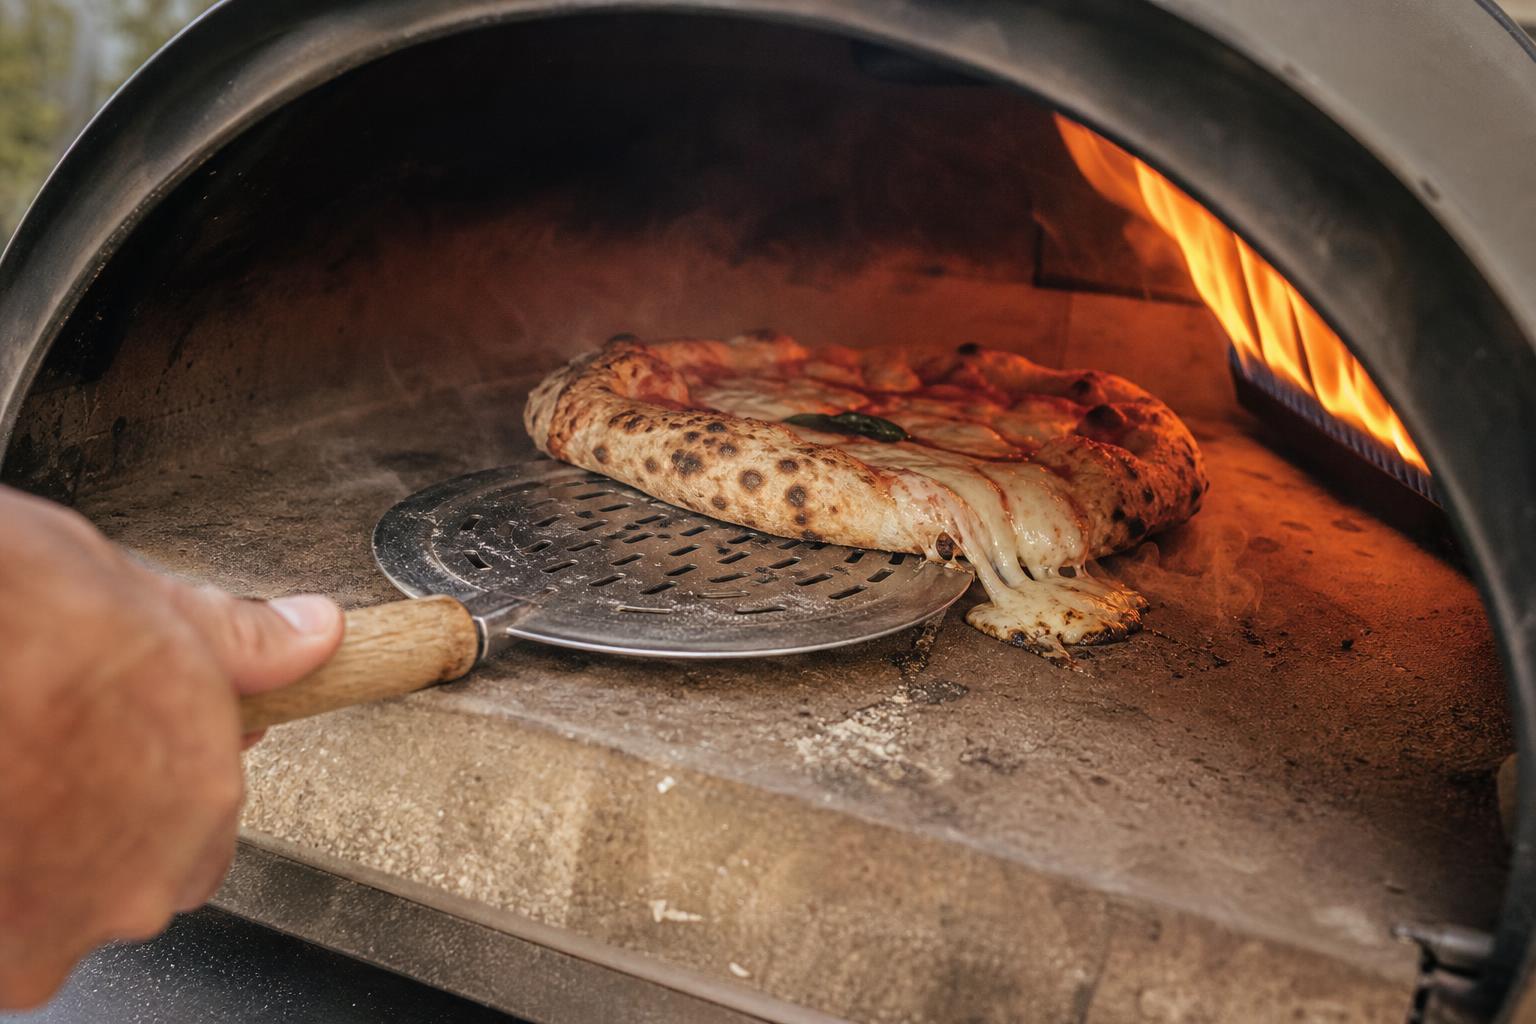
Why does pizza dough tear when turning in the oven?
A brief explanation, in case you haven’t had a pizza oven for long: Turning is necessary because the heat in gas and wood-fired ovens is never distributed completely evenly, the flame is usually on one side. Without turning, the cornicione will burn on the flame side while the other side remains pale. Turning evens this out. With ovens that have a rotating base like the Witt ETNA Rotante, this is not an issue, they rotate automatically and you don’t have to intervene at all.
When turning manually, you slide the turning peel, the round turning shovel, under the base, which is just starting to firm up. At that moment, the base is not yet equally stable everywhere. If it tears, it was usually not due to “one” mistake, but a mixture of these classic errors:
- Getting the peel in too early. The base needs 20 to 30 seconds before it even forms a crust underneath. If you go under it with the turning peel earlier, the dough is still soft like raw modeling clay and simply tears.
- Too little semola, dough sticks to the peel. If the underside sticks to the peel when sliding it in, micro-tears form in the base when placing it, which then open up during turning.
- Sauce too watery. A sauce that still contains water from the can directly soaks the base underneath. The dough loses its tension precisely where the gluten network, the protein structure that holds the dough together, is most needed.
- Dough stretched unevenly. A thin spot, often in the center, can’t hold as much topping as the rest. It tears first precisely there, especially when the pizza is also being moved.
- Over-proofed. Dough that has proofed for too long in bulk fermentation (the main fermentation phase before portioning) or final proof (after shaping individual dough balls) breaks down its gluten network. It feels buttery soft when stretching, almost too easy, which is already a warning sign. If it tears slightly when shaping, it will also tear in the oven.
- Letting the finished topped pizza sit too long. If the topped pizza sits on the peel for too long before sliding it into the oven, the moisture from the sauce and toppings seeps further into the dough and soaks the base. Top and slide into the oven quickly, don’t tidy up the kitchen first.
- Too long on the perforated peel. With perforated peels, the dough can sink into the holes, especially with softer, wetter dough. Then it tears when sliding it in, before you even think about turning.
In my workshops, I most often see the combination of points one and four: turning too early, stretched too thin in one spot. Individually, it would have probably gone okay, but together it almost always tears.
Dough tears while stretching, not just when turning in the oven
Quick break from the oven topic, because I get asked about this more than you’d think: if your dough already tears while shaping it on the counter, before it’s anywhere near the oven, the cause is different from the ones above. It’s not about timing the turn, it’s about the gluten network itself.
- Dough still cold from the fridge. Cold gluten is stiff and inelastic, it tears rather than stretches. Take the dough balls out at least 1 to 2 hours before shaping, depending on room temperature, so they can come up to temperature.
- Gluten network not developed enough. If kneading was too brief or too rough, or if stretch & fold was skipped entirely during bulk fermentation, the network stays patchy instead of elastic. Stretch & fold is part of every dough for me, not just high-hydration ones.
- Pressing too hard instead of stretching. Fingers flatten the dough in one spot instead of stretching it evenly, usually in the center. That’s where it ends up thinner than the rest, and tears first.
- Over-proofed or badly under-proofed. Just like with turning above: dough at the end of its proof is buttery soft and tears easily, while dough that’s too young is tough and resists stretching.
When shaping: keep your palms and fingers flat, press outward from the center in small steps, then let the dough hang over your fists and keep stretching with gravity instead of pulling at the edges. And just like with the peel: never dust your hands with flour, that only makes your grip slippery and dries out the surface unnecessarily. Damp hands or a splash of olive oil are enough.
If a small spot tears anyway, just pinch the edges back together and keep shaping elsewhere. A bigger tear can usually still be saved before the toppings go on, more on that further down.
Pizza sticks to the peel, the solution is semola
If the pizza sticks to the peel when sliding it in, it’s almost always too little or the wrong flour. I use Semola Rimacinata, which is finely ground durum wheat semolina, or Granito (coarse Tipo 00, closest to the AVPN standard). Both have coarser grains than regular pizza flour and literally make the pizza glide.
The right technique: Lightly dust the peel with semola. You can then either spread the dough ball directly in a bed of semola on the peel, classic style like in a pizzeria, or you can briefly “par-bake” it first, meaning briefly roll it in semola on all sides, and then spread it out on the work surface. If there are still sticky spots after shaping, just dust lightly again. The principle remains the same: as little as possible, as much as necessary. This also applies if you use regular flour instead of semola.
The right turning peel technique in 4 steps
The turning peel itself is not the problem, it’s almost always the timing and the sequence. Here’s how I do it:
- Check stone temperature before the first pizza goes in. Briefly aim an infrared thermometer at the stone. Only when the target temperature is reached does the first pizza go in.
- Slide pizza in and wait. Don’t touch anything for 20 to 30 seconds after sliding it in. The base needs this time to start cooking from below.
- Heat the turning peel now, while waiting. While the pizza is baking for the first few seconds, briefly hold the turning peel with the shovel side into the oven. Warm on warm is always better than putting a cold peel under a hot pizza, otherwise it will stick to the base.
- Check briefly, then turn flat. Lift the edge of the turning peel one centimeter off the edge and look at the underside. First light brown spots? Then slide it under the entire pizza as flat as possible in one go, don’t stab from above, and turn.
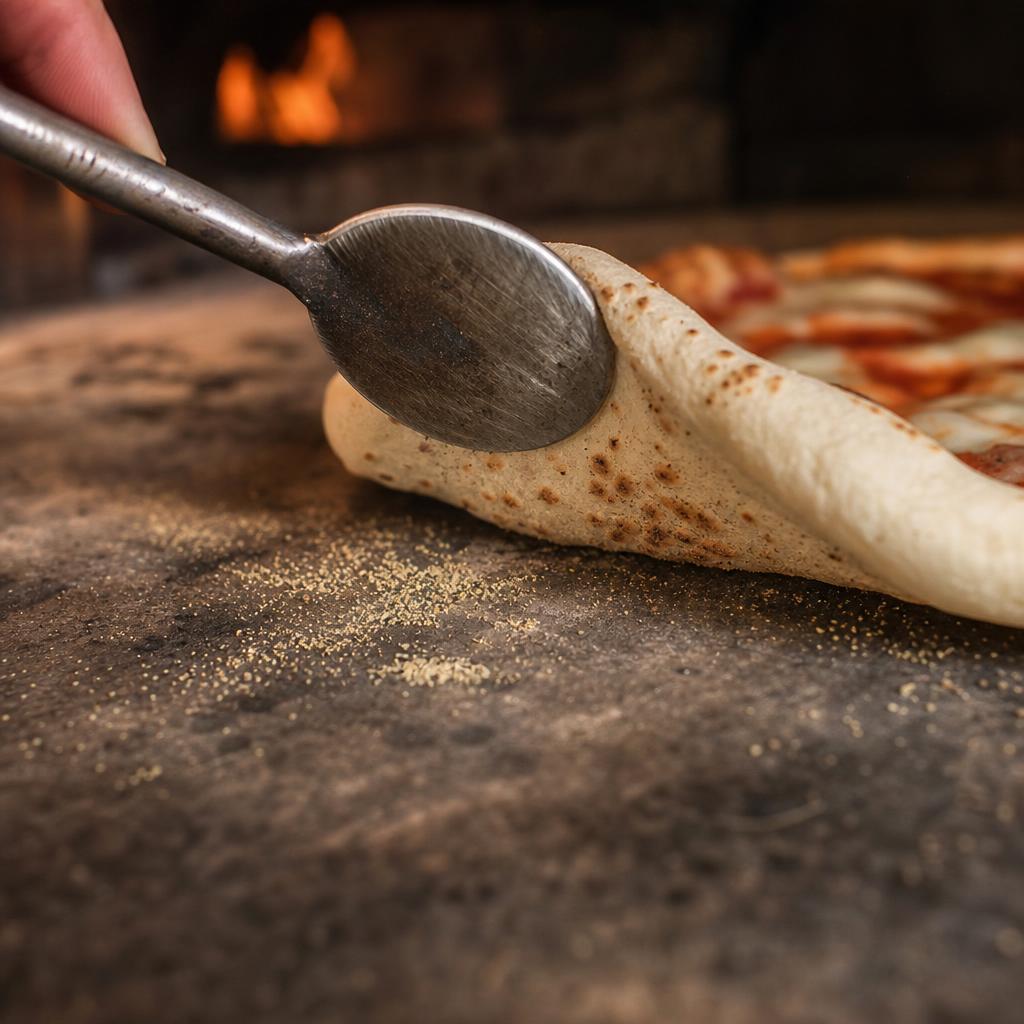
The most common mistake in the technique itself: people stab the dough diagonally with the edge of the peel from above, instead of sliding it under flat. This will almost certainly tear a hole, no matter how good the dough was otherwise.
Pro tip: When the base is really ready to turn
For advanced users, “20 to 30 seconds” as a guideline isn’t quite enough, as it also depends on the stone and oven temperature. Measure the exact stone temperature before the first pizza goes in with an infrared thermometer (they are also available for other brands, for example the Everdure infrared thermometer). In a gas oven with a stone temperature of 450 to 500 degrees, the base is often ready after just 15 seconds; in an electric oven with lower bottom temperature, it can take 40 seconds. It’s better to look at the cornicione, the puffed-up edge: if it starts to dome and gets its first light bubbles, the base is usually stable enough from below as well. This browning is the Maillard reaction, the same chemical reaction that creates roasted flavors when searing meat; it only starts when the surface is dry enough.
Another factor that hardly anyone considers: hydration. Dough with 75 percent or more water content has a more open, softer gluten network and reacts much more sensitively to premature turning than dough with our course-standard 62 percent. If you’re baking with high hydration, give the base an extra 5 to 10 seconds before turning. Flour also plays a role: a strong flour with a high W-value (baking strength), like our LeDivine Anna, which is designed for long fermentation, builds a particularly stable gluten network and tolerates turning earlier than a weak flour with short fermentation.
Pro mistake in large ovens: leaving the pizza in the same spot
This applies especially to larger ovens like the Gozney Dome or similar models with a lot of stone surface: When you turn the pizza, always put it back in the same spot. Don’t slide it onto a free, “fresh” stone surface next to it.
The reason: The hot stone directly transfers energy to the pizza base during baking. The stone cools down noticeably in the spot where the pizza is located. If you slide the pizza onto an unused, still fully hot stone surface after turning, it rests on a significantly hotter base than before, and it will burn very quickly from the bottom before the topping is done. The same spot maintains the “correct” temperature for this specific pizza.
What to do if it happens anyway?
Don’t panic, it happens to experienced people too. Pull the pizza out immediately with the peel before more cheese drips onto the stone. You can disguise a small hole in the base on the plate with a little extra cheese or a spoonful of sauce; you’ll hardly taste it.
If the dough tears earlier, while stretching (see above), before anything’s even on it: lay a basil leaf over the spot, then top as usual with sauce and cheese. The leaf seals the tear, nothing leaks through while baking. Small trick, works surprisingly well.
And if there’s nothing left to save, whether the tear happened while shaping or only while turning in the oven: just call it a “deliberate calzone” and fold it over. Tastes just as good, and nobody at the table will know it was a rescue move.
The burnt cheese on the stone often burns off by itself during the next heating, but it tends to leave stubborn black stains where the stone temperature is lower, usually at the front near the oven opening. How to get your stone clean again after such an incident, depending on the material (Biscotto, Cordierite, or Fireclay), I have summarized in a separate article: Cleaning and seasoning pizza stones.
Frequently asked questions about tearing pizza dough
How long do I have to wait before I turn the pizza for the first time?
As a guideline, 20 to 30 seconds, depending on the oven type and stone temperature. More reliable is to look at the underside: first light brown spots mean the base is ready.
What flour should I sprinkle on the peel if the dough sticks?
Semola Rimacinata (finely ground durum wheat semolina) or Granito. Never regular Tipo 00, it burns faster and makes the base sticky rather than slippery. The principle: as little as possible, as much as necessary.
Does watery sauce really ruin the base?
Yes. Excess water from the tomato can directly soaks the dough underneath and weakens the gluten network precisely there. Let tomatoes drain briefly before processing or puree them coarsely instead of finely; that’s usually enough.
Is the pizza stone damaged after burnt cheese?
No, usually not. Black stains are burnt organic residues and can be removed with the right cleaning method, which varies depending on the stone material.
Why does my dough tear while stretching, before it’s even in the oven?
That’s a different problem than tearing while turning. Usually the dough is still too cold from the fridge, or the gluten network isn’t stable enough yet, often because stretch & fold was skipped during bulk fermentation. See the section “Dough tears while stretching” above for details.
Has this happened to you before, base torn, cheese burnt on the stone? Write in the comments what the cause was for you, I’m happy to collect the most common cases for the next article.
