



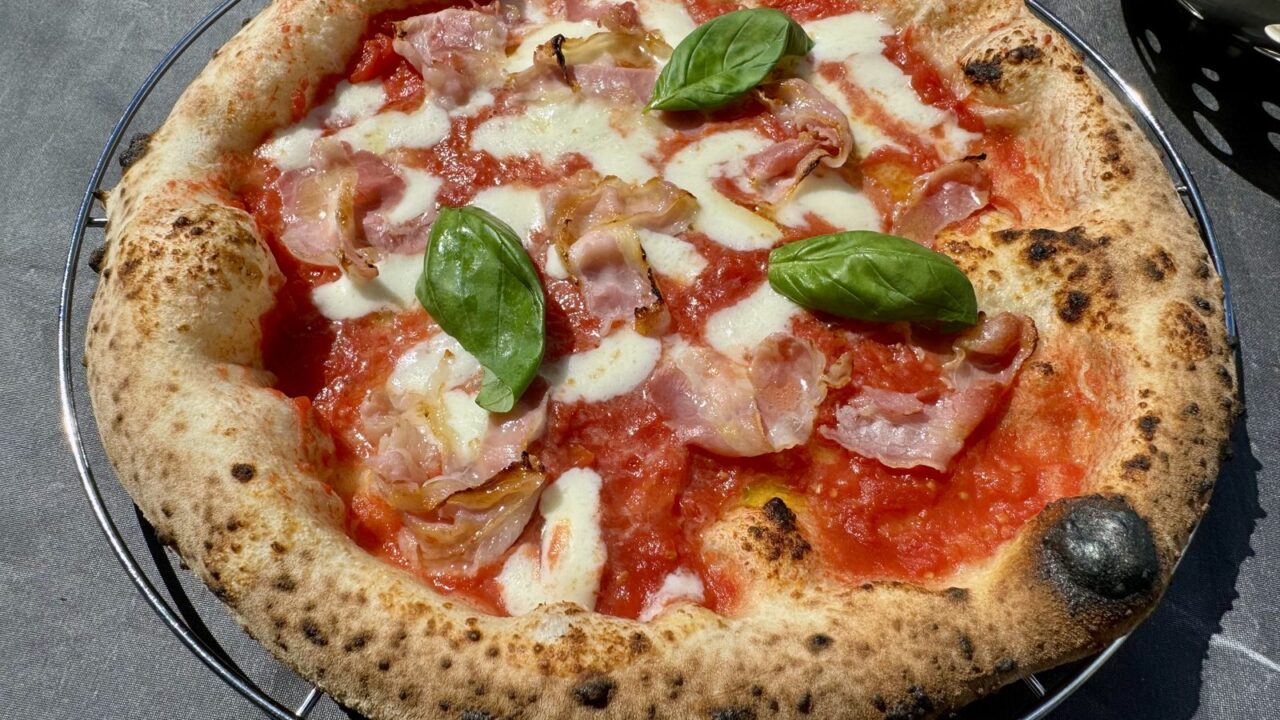
You did everything according to the recipe. Dough handled cleanly, oven hot, pizza in. And then it comes out and the crust is pale. Not a single dark spot, nothing leopard-like. At the Italian place, the cornicione looks like a cheetah’s fur, with you it looks like an inflated slice of toast.
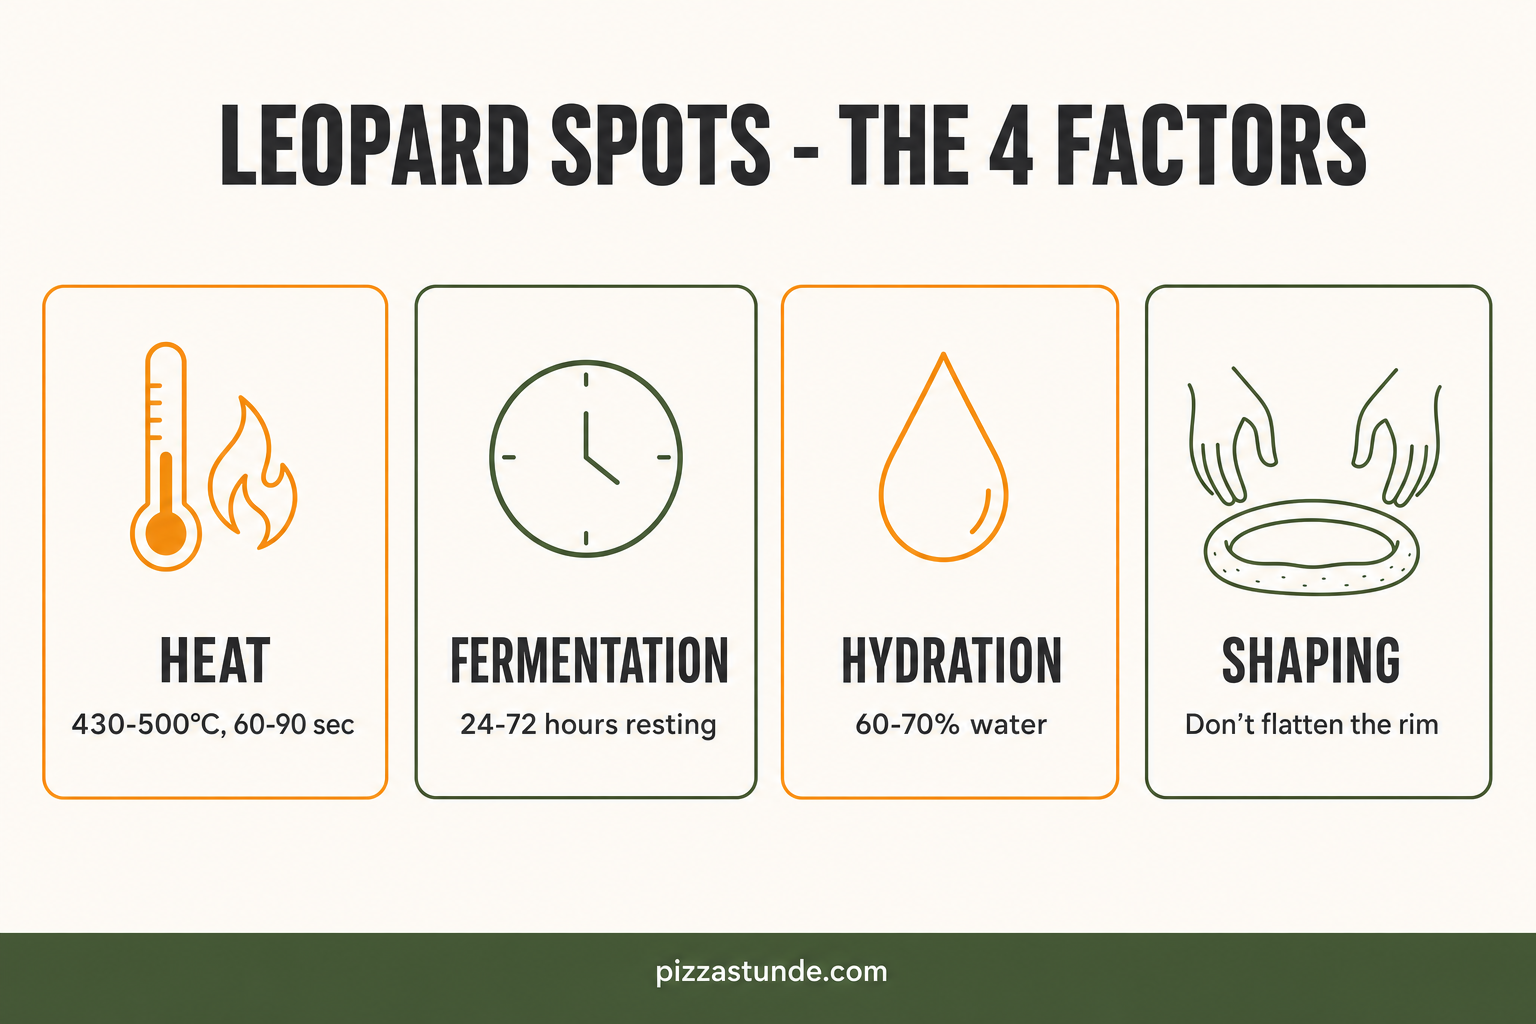
That’s the question that comes up in my workshops almost every time: Why don’t I get leopard spots? The short answer: It’s never just one thing. It’s four factors that have to work together. If one fails, the crust stays pale. I’ll go through them one by one here.
What are leopard spots anyway?
Briefly, the terms, so we’re talking about the same thing. The Cornicione is the puffed-up crust of the Neapolitan pizza. The Leopardization (Italian “leopardatura”) are the dark spots that form on this crust under intense heat. Not uniformly brown, but spotted: light areas, with dark spots in between. This is exactly the pattern meant.
Why do the spots turn dark? That’s the Maillard reaction, plus a bit of caramelization of residual sugar in the dough. Simplified: At high heat, sugar and protein in the dough react and turn brown to almost black. The raised areas on the crust, which are closest to the flames and the hot dome, get the most. That’s why it’s spotted and not uniform.
Important: Leopard spots are not “burnt.” A slightly bitter, roasted note is part of it; that’s intentional. If the entire crust is black and ashy, it was too much. If it’s completely pale, it was too little. The sweet spot is in between.
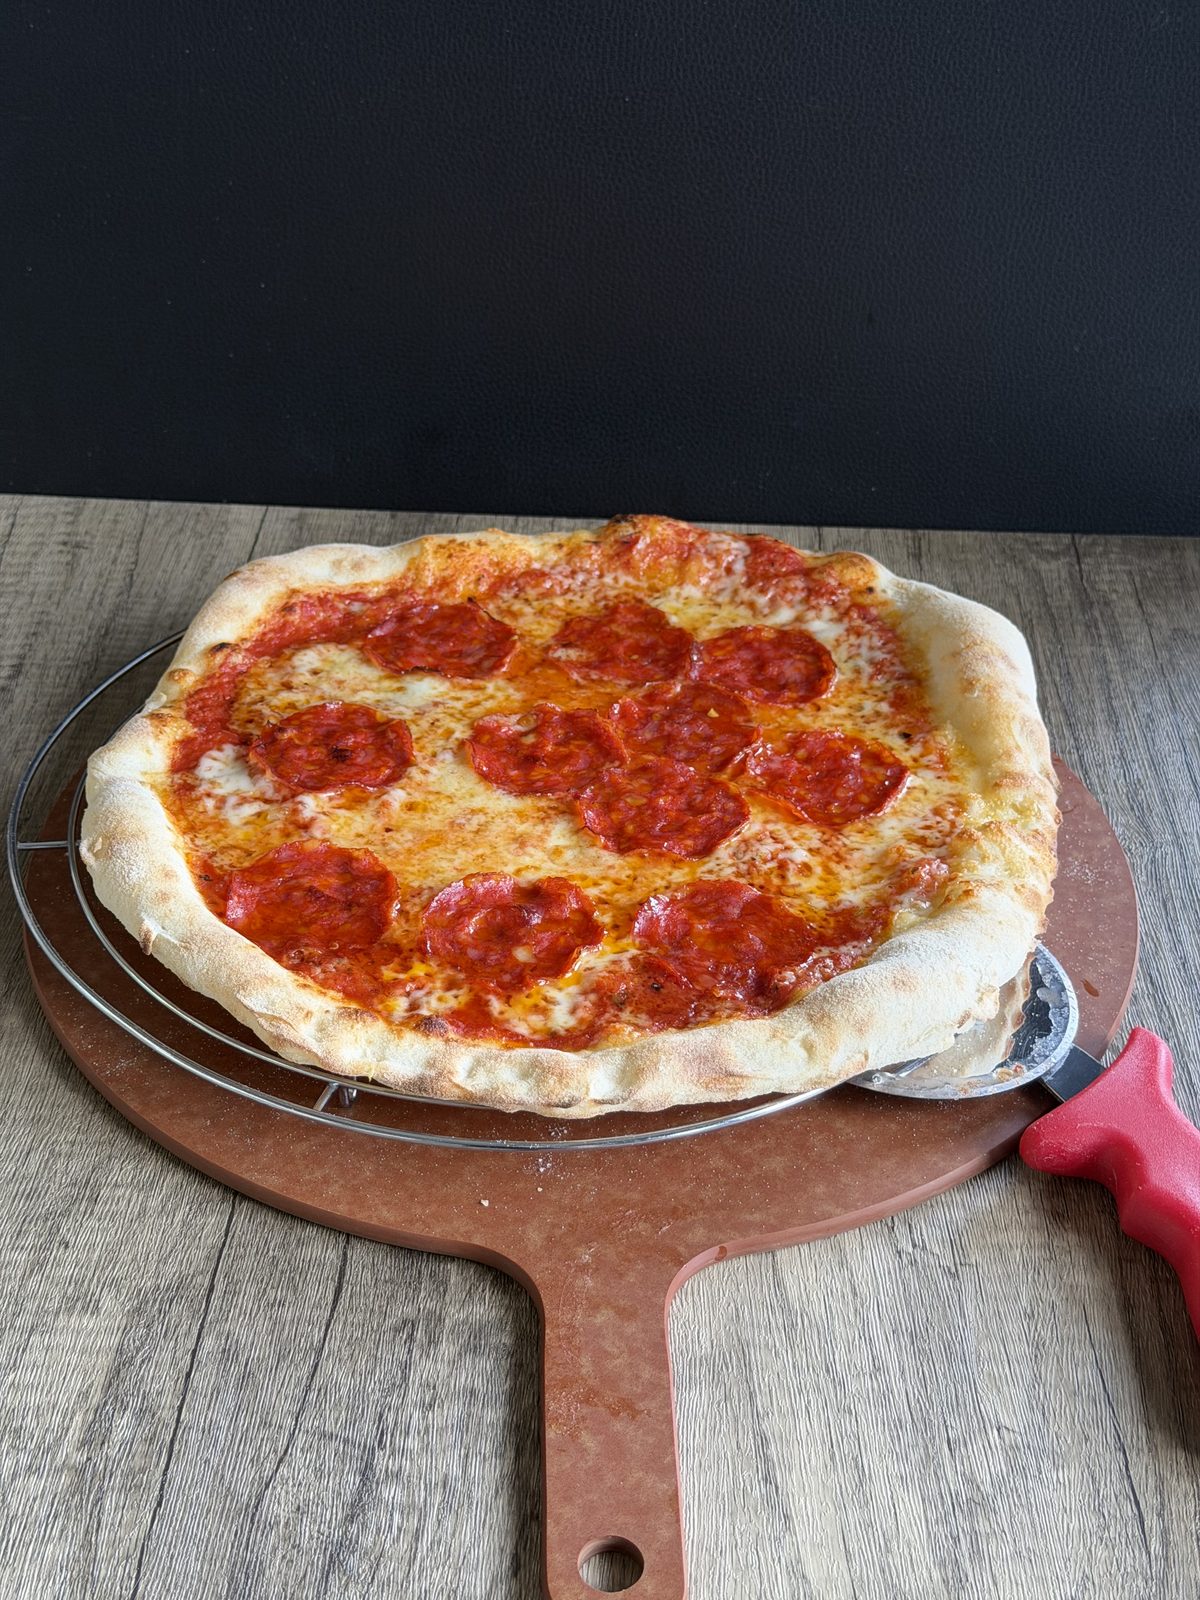
Pale versus leopardized: the direct comparison
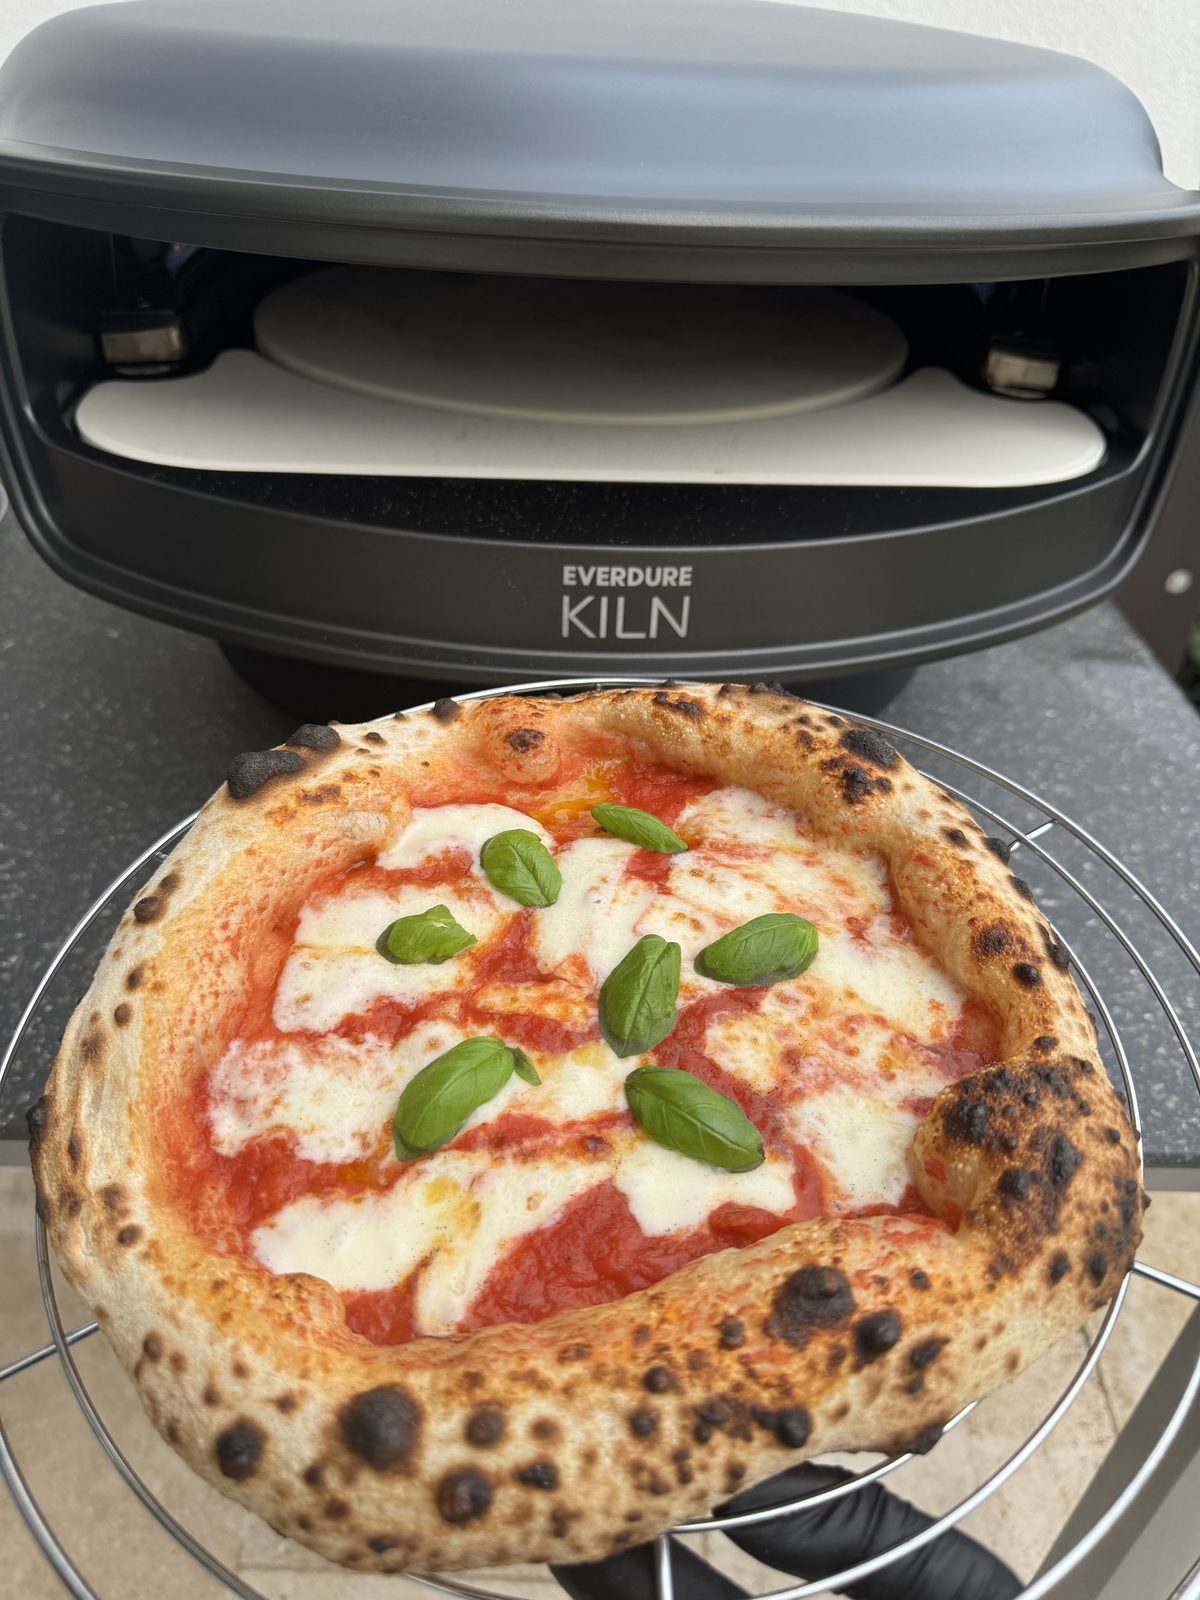
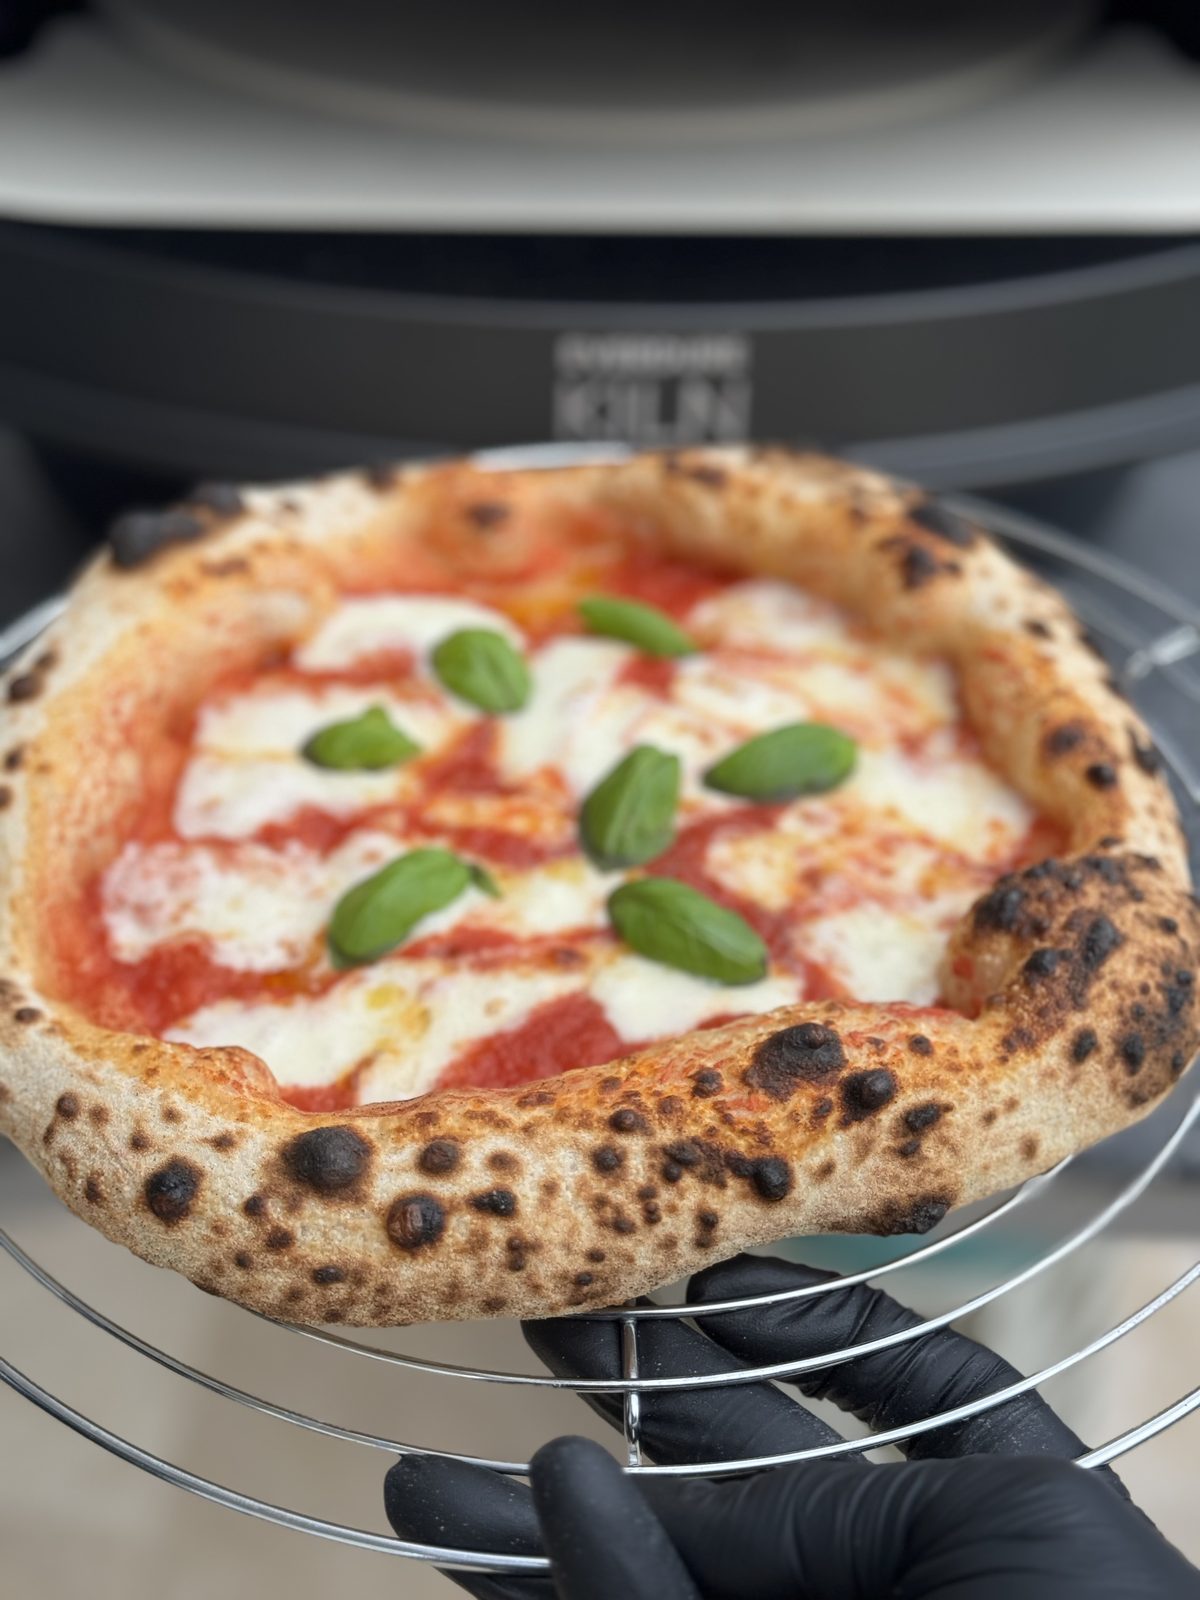
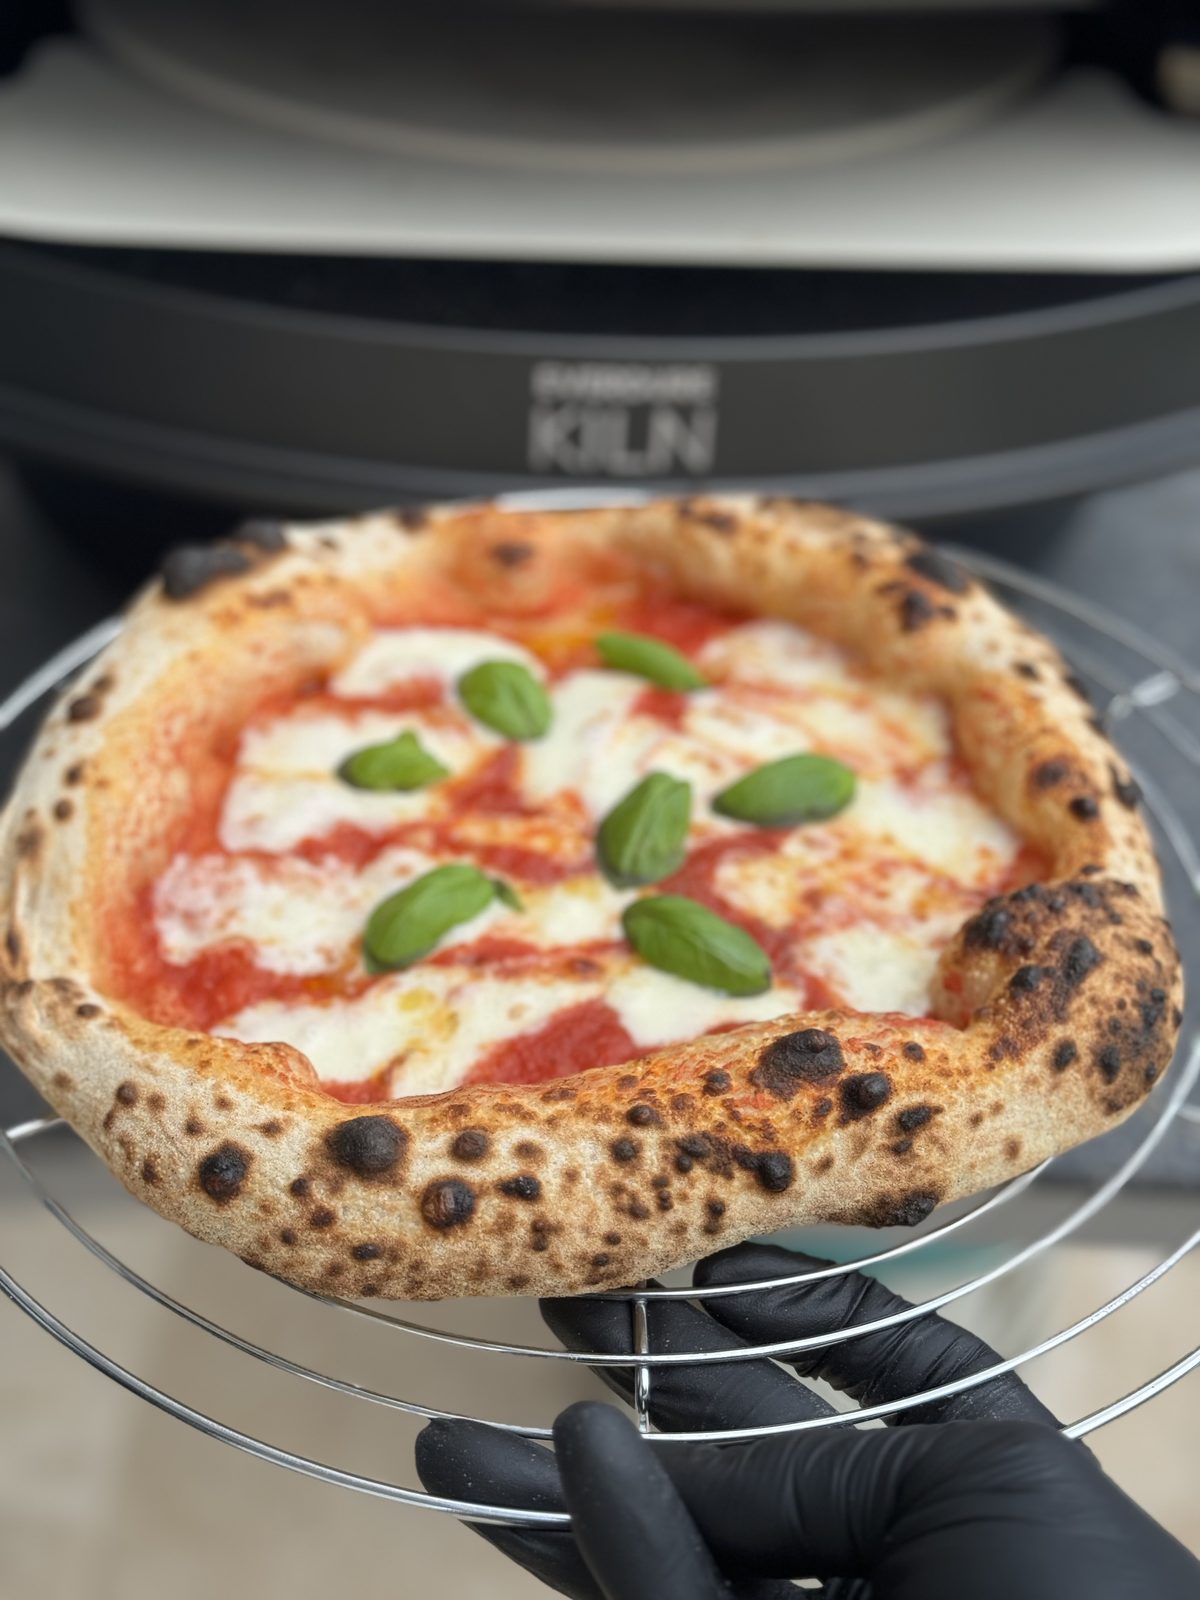
Look at the two. Above, a pizza as many people get out of their home oven: risen, baked, but the crust stays light. Below, the cornicione from a hot pizza oven with leopardization. Same dough concept, completely different result. The difference is almost only: heat and technique.
Factor 1: Heat – nothing works without it
This is the most important point, and the reason why it practically never works in a household oven. For leopard spots, you need 430 to 500 °C (that’s around 800 to 930 °F) and a short baking time of 60 to 90 seconds. Your home oven only reaches a maximum of 250 to 300 °C. At that temperature, the pizza is done before the crust even starts to color. It dries out instead of leopardizing.
The trick is the short, brutal heat from top and bottom simultaneously. The stone provides bottom heat, the dome or burner provides top heat. In that short time, the crust caramelizes, but the pizza doesn’t dry out inside. This is exactly what Gozney-, Everdure KILN-, and Pizza Party ovens are built for. Anything that easily reaches over 400 °C will give you leopardization.
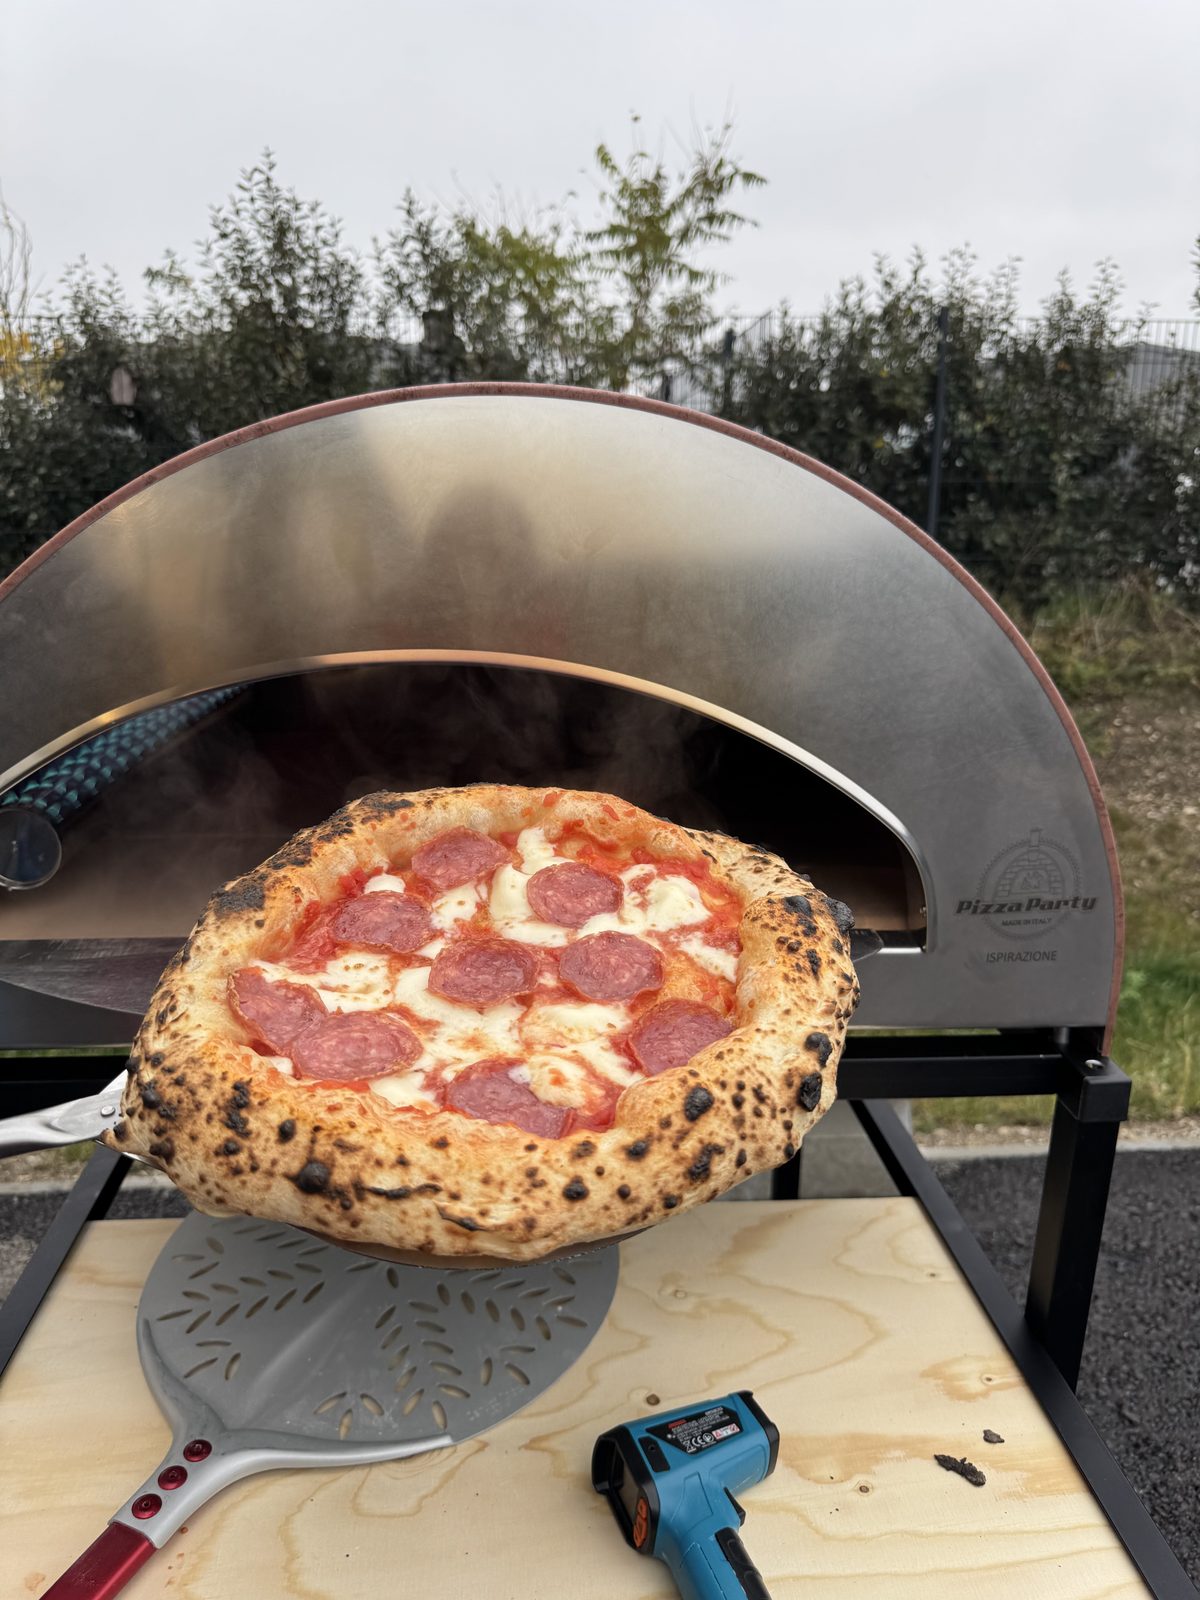
Pro Tip: Measure the stone temperature, don’t guess it. I use an infrared thermometer and make sure the stone is really at temperature before the first pizza goes in. A stone that’s too cold is the most common reason for a pale base despite a hot oven. And turn the pizza during baking with the turning peel so it gets evenly colored all around. Otherwise, only the side facing the burner will leopardize.
Factor 2: Dough fermentation – but not “the longer, the better”
Good leopardization requires a mature dough. I recommend a fermentation of 24 to 72 hours, preferably cold in the refrigerator. During this time, what later spots the crust happens: enzymes break down starch into sugar, and it’s this sugar that caramelizes at high heat. No dark spots without sugar in the dough.
Now the point that many misunderstand: More is not automatically better. If you let the dough over-ferment, it backfires. The yeast eventually eats up all the sugar. An over-fermented dough has hardly any residual sugar left, and then you get *fewer* leopard spots instead of more. The crust stays pale, even though the dough has been sitting for ages. Stay within the 24 to 72 hour window, and it will be fine.
How to control fermentation in detail, cold vs. warm, how long at what temperature, I’ve written about in a separate article: Letting pizza dough rise: 24, 48, or 72 hours?. If your 8-hour pizza dough is dialed in, half the battle is already won.
Factor 3: Hydration – water makes steam
Hydration is the water content in the dough, measured as a percentage of the flour. For a nicely puffed-up crust, you want to be in the range of 60 to 70%. Why? The water in the dough evaporates rapidly at high heat. This steam inflates the air bubbles in the cornicione, and the crust rises. And the raised, thin areas are exactly the ones that then leopardize.
Dough that’s too dry (under 58%) hardly puffs up; the crust stays flat and compact. Dough that’s too wet is difficult for beginners to handle and tears easily. In my courses, I use 62%, which is a safe starting point. Once you’re comfortable, you can move towards 68 to 70%, and the crust will become even airier. A shot of water more (2 cl per 1 kg of flour) is already 2% more hydration, which you’ll notice immediately in the dough.
The full range of what 60, 70, and 80% specifically change in the result is here: Pizza Dough Hydration (Water Content): 60%, 70%, or 80% – What’s the Difference?.
Factor 4: Shaping technique – the point almost no one explains
This is the factor that’s completely missing in most instructions, and it brings the most “aha!” moments in my workshop. You can have perfect heat, dough, and hydration, and the crust will still stay flat if you ruin it while spreading it out.
The cornicione only puffs up if there’s air inside. This air comes from the fermentation; it sits in small bubbles in the outer crust. If you then press the dough ball flat like a pancake, you push the air out. The crust is degassed, and what has no air cannot puff up. Result: a flat, pale crust, no matter how hot your oven is.
Here’s how to do it right: Spread the pizza from the center outwards, and leave the outer two to three centimeters alone. Do not press this rim, do not roll it with a rolling pin, do not flatten it. The air must stay there. The English mnemonic “hands off the cornicione” sums it up perfectly: Hands off the crust.
And yes: never flour your hands when stretching, it changes the surface and makes the dough tough. Use semolina to spread on the work surface, but keep your hands dry or slightly damp. If your dough tears while shaping, there’s often another mistake behind it, which I’ll break down here: Pizza dough tears when spinning? The most common causes.
Frequently Asked Questions about Leopard Spots
Will I get leopard spots in a regular oven too?
Honestly: hardly. A household oven reaches 250 to 300 °C, which is enough for a good pizza, but not for real leopardization. With a pizza stone or baking steel at the highest setting plus the grill function, you can get close, but the spots will remain faint. For real leopard spots, you need a pizza oven with 400 °C and up.
My dough has been sitting for 3 days and the crust is still pale. Why?
It’s probably over-fermented. After a long fermentation, the yeast may have already used up the residual sugar, and without sugar, nothing caramelizes. Stay within the 24 to 72 hour window and adjust the yeast amount to the time: the longer the fermentation, the less yeast.
Are leopard spots burnt and unhealthy?
No, they are roasted aromas from the Maillard reaction, like in bread crust or seared meat. A slightly roasted note is part of it. Only if the entire crust is deep black and ashy-bitter was it too much heat or too long.
What hydration is best for leopardization?
60 to 70%. Below that, the crust hardly puffs up; above that, it becomes difficult for beginners to handle. 62% is a safe starting point, as I also use it in my courses.
Conclusion: Time, Heat, and Technique
Leopard spots are not a coincidence or a secret trick. They are the result of four things that must work together: enough heat, a mature but not over-fermented dough, the right hydration, and a shaping technique that doesn’t degas the crust. If one fails, the crust stays pale. If everything works, your cornicione will look like a Neapolitan’s.
Where do you struggle the most? Pale crust despite a hot oven, or does your dough tear while spreading? Write to me in the comments, and I’ll look at your problem.
